Copyright © 2011-2014 airxc.com, airxcell.com
Table of Contents
When reaching initially the AirXCell software at http://www.airxcell.com, one is first presented to the AirXCell information page. This is the page from which the AirXCell software is started by using the Start Button presented on Figure 3.1, “AirXCell start button”
By pushing the Start Button, the user is either redirected to the AirXCell software if he is already logged in, or presented to the login screen if he is not, as shown on Figure 3.2, “Initial Login Screen”
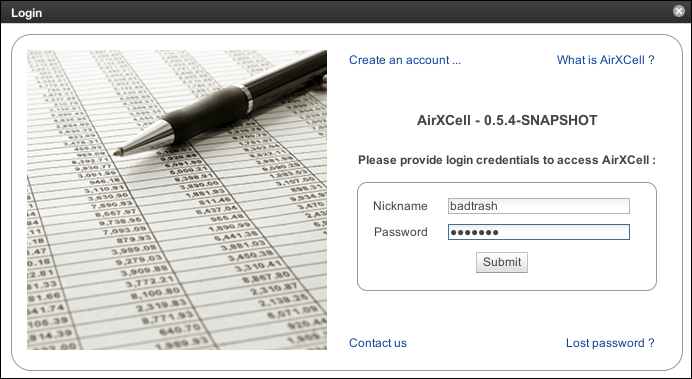
The user needs to type in her Username and Password in order to reach the AirXCell application. First time users should create their AirXCell user by using the "Create an account" link, while existing users can proceed with authentication through the login screen.
The login process always ends up in presenting the AirXCell User Interface starting with the Quick Start Box (4.1) in modal mode.
The new account creation form is pretty straightforward. One should note that the following attributes are mandatory while the others are not:
- Nickname
- Password
- Birthdate
The new account form is shown on Figure 3.3, “New Account form”.
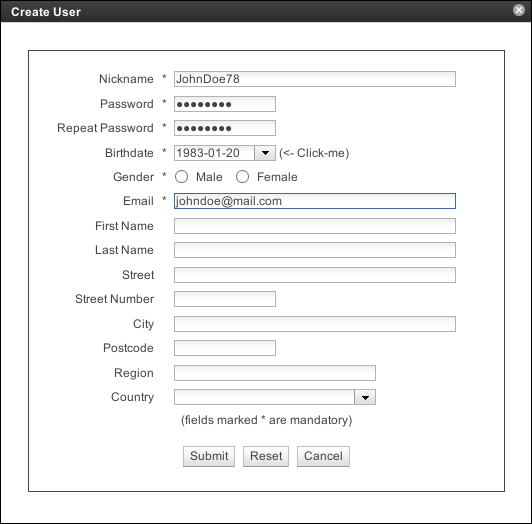
Upon validation of the form using the Submit button, the user has to perform an human verification in the form of a captcha validation. When that process completes, the AirXCell user is created and the user is redirected to her initial workspace.
The application provides the user with means to change these informations and/or her password in the User Menu (4.2.2.5) within the application.